- 3x 3D printed part of the finger
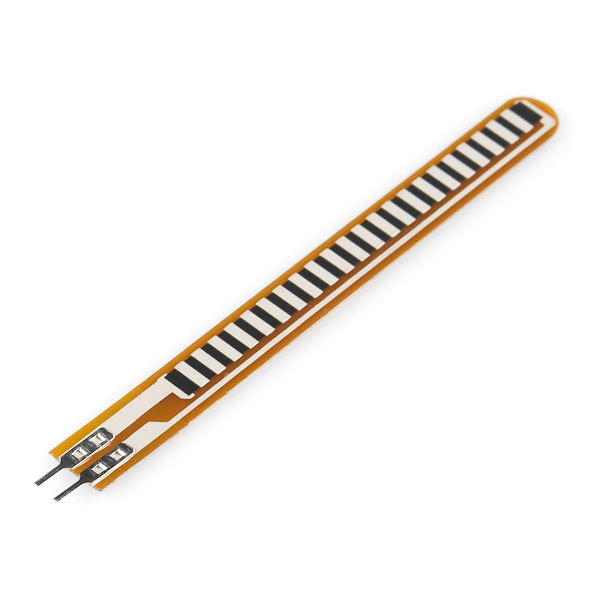
- 1x Flex Sensor
- 1x Micro Servo
- 1x Adruino
- 1x Adruino App
- 1x Wood board
- 1x Fishing wire
- 1x Plastic strip
- 1x Glove or masking tape or elastic bands
- 1x Computer
- 1x Battery
- 1x Cable to connect Arduino board to computer
What the main components do:
Flex Sensor:
When bent there is resistance in the ink within the sensor. This sends message a to the Arduino board. In this task, the flex sensor, will be attached to a finger and send signals to the micro servo to mimic the movement of the finger. 
Micro servo:
Is an electric motor that runs backwards and forwards, in this task it will be pulling the fishing wire that is attachted to the 3D printed finger allowing it to bend.
Arduino board:
The control panel that holds the code and sends the signals from the flex sensor to the micro servo. For this task you will use a Arduino Nano. 
Arduino app:
The code will be inputed into the app and then uploaded on to the arduino board. 
Other components:
The remaining items being; Cable to connect Arduino board to computer, 3D printed part of the finger, Wood board, Fishing wire, Plastic strip, Glove or masking tape or elastic bands, Computer and Battery are the required parts to build the bionic finger.
Assembling the finger:
- Cut the plastic in to 4 strips into roughly 2cm long each
- Insert 2 of the plastic strips into either end of 2 parts of the finger to make joints
- Hot glue these parts together
- Repeat steps 2 and 3 with the other 2 plastic strips and 3D printed fingers
- Thread the fishing wire through the holes in the finger
- Attach the mirco servo to the to pin 9 and have brown to ground on the arduino board
- Attach the Flex Sensor to A0 on the Arduino board
- Thread the fishing wire into the micro servo
- Hot glue the Micro Servo onto the wooden board
- Plug the Arduino into the computer and upload the code that is on the 'Code & troubleshooting' page
- Attach the Flex Sensor on to the glove or tape it to your finger
- Attach the battery or use laptop power
- Test to see if finger works


